

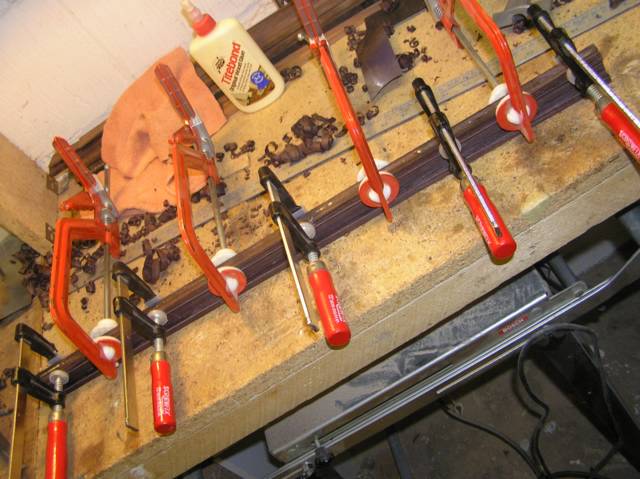
 Here is the obligatory picture of a host of clothes pegs - in this case affixing the lining. After this the front goes on, so I will have to remember to stick in my maker's label. I also glued the back of the cittern today, with its stripe down the middle.
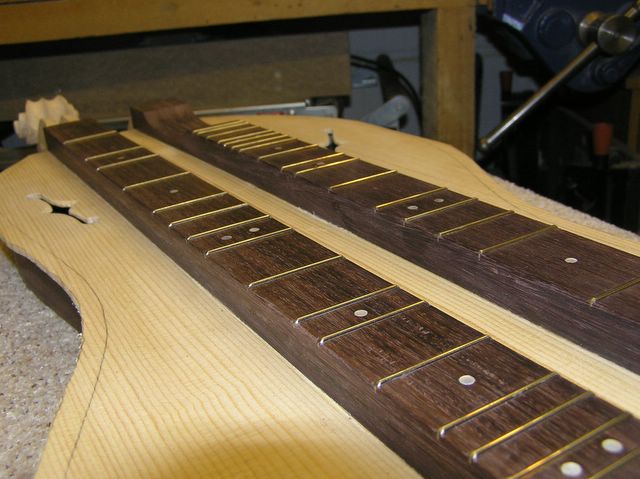
 This generated a great deal of sawdust, but it's looking quite good. The peghead is longer then the octave mandola to accommodate the ten tuning machines, and the neck is wider to give room for the five sets of strings. The fretboard is going to have a slight radius (30cm) to make this wider neck more comfortable. The strips in the fromt of the picture are the pine linings ready to be bent (these should do both instruments if I don't snap them during the heat bending).
 It was a bit fiddly, but I decided to fit a heel cap to the octave mandola as the walnut back wasn't quite big enough. I made this from some of the macassar ebony that I'm using for the fretboard and peghead veneer. I also fitted the truss rod to the cittern neck.
 I love this moment. I cut out the slots in the neck to accept the ribs and, for the first time I could see the shape and size that the instrument will have when its finished. After a few moments imagining the completed octave mandola, I glued it with araldite and left it to set.
 I've been busy over the Easter weekend and have made progress on the necks of the 'octave' and the cittern. I have made and fitted the ebony peghead veneer - the Macassar ebony is lovely to work with and the grain is more interesting that the plain black ebony. On the cittern neck (sycamore) I have put in the centre stripe of three layers of veneer and marked up to start fitting the trussrod. I have also been shopping and bought the tuners and fretwire from Stew Mac in the USA.

 Things are starting to move on a bit now. I'm just about to glue the back on, and I've shaped the neck. I now need to order the wood for the fretboard and peg head (and maybe tailpiece). I was going to use Madagascar ebony, but I might try kingwood.

 Both instruments lurched forward a bit. The cittern belly got a set of braces (shown not quite finished here). When I have tidied up the two little braces I will be setting this one aside for a while.
 ribs to it. I am pretty happy with the joint. I also 'bent' a set of linings from some willow I had in stock (shown in the foreground of the photo). I will probably use these for the backs of both instruments, and make some spruce ones for the bellies. Or then again, I might use stick with just the willow.
 the neck of the Octave Mandola, and the other bits may well find there way into future mandolins...
 After the lads got beaten at football, I finished off the braces for the octave mandola. I then bent my walnut ribs and put them into the mould. The walnut bent quite easily, and looked really pretty when darkened in the water. The ribs were a little too long for the mould so had to do a bit of trimming and also take out one of the turn-buttons. I will leave the ribs to dry in the mould for a few days.
 I made good on my intention to get restarted on the instrument making, and over this weekend glued up the back of the octave mandola. The two bookmatched pieces are only just big enough and I have have no spare at all. There may be enough for the 'button', but this might have to be made from a separate piece of figured walnut.
I also glued the tone bars to the yellow cedar belly. I had forgotten how quickly the Titebond glue sets and had to scrape some half set adhesive off the bars when I made a hash of it the first time through. With the bars its better to use too much glue to start with and squeeze out the excess. It was much better on the second attempt.


 I've now cut out the soundhole and the outline of the belly. I've also added some reinforcement on the inside to protect the fragile edge of the soundhole. Next to fit the braces.

 The second belly is now glued up and thicknessed. I have also made the first set of braces (also shown in the picture). The little picture is a close up of the 'bearclaw' figure on the spruce - I can't say it looks much like anything done by a bear!
 I have now glued up the two pieces of yellow cedar to make the first belly. I have just been in to the garage to take a photo and it has bowed rather alarmingly. I think that it may be something to do with the leather mat I left it on (the remains of our old leather sofa). Fortunately, the bow is the same way as the wood will be bent to make the belly and the joint is completely sound. The wood 'rings' quite nicely when I knock it. The yellow cedar seems more pliable than the spruce, and I wonder if this contributes to the 'mellow' tone that it is supposed to impart.
 Much excitement as my box of wood arrived from Alsaka. The company, Alaska Speciality Woods kindly included a magazine about Prince of Wales Island, where they are based - it looks very beautiful. Fishing appears to be the main pastime! I have given both sets of soundboards a tidy up with a plane.
 sitka spruce for the cittern. The 'bearclaw' figure is quite light, but pretty nevertheless.


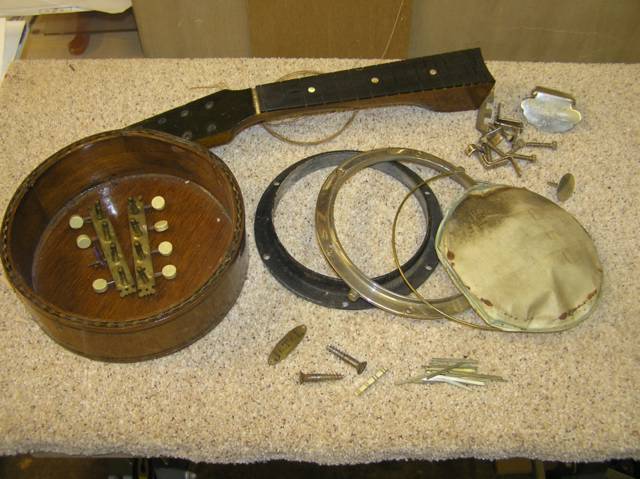
 I want to get this one finished as soon as possible, so I can start my next proper project (an octave mandola, in walnut). I have made a new rim (constructional maple veneers bent round a mould), and I am going to glue the base on next. This (also in the photo) is a nice bookmatched maple veneer, glued to a thin plywood base. The join will be hidden by a binding round the base.
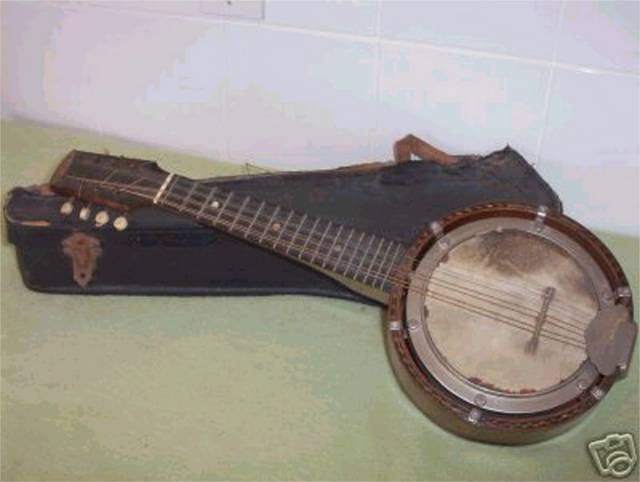
 Actually, it was finished a couple of weeks ago, but I haven't got round to posting the photo until today. It makes a great noise!


