I shaved down the belly braces a bit as part of my attempt at tap tuning. It sounds a bit brighter to me, but who knows!


 I was thinking about how a make some walnut dots for the fretboard. My first attempt on my lathe was not good enough, so I tried out using a leather punch in my drill press. This worked really well. I punched through almost all the thickness of the walnut and then sanded the back off on my belt sander, ending up with a little pile of dots. The test fitting in a piece of scrap wood looked fine, so these are good to go for the fretboard.

 I had originally decided to use a piece of macassar ebony for the fretboard (second from the left), but I didn't like the colour against all the walnut. Likewise, I rejected the ebony (left) and cocobolo (third from the left). In the end, I am going for a simple piece of sycamore (right), I hope to jazz it up a bit with some dot markers to be made on the lathe from the same piece of walnut used for the peghead veneer (and planned for the bridge).
 The neck was made from a sandwich of walnut, dyed constructional veneer and a sycamore core. The idea was to generate some stiffness as walnut alone may have been a bit too flexible. Someday I will try out a carbon fibre reinforcing rod instead... For a peghead veneer, I have made a little bookmatched piece from some interesting walnut, thicknessed down to about 3mm.
 Here is the belly 'dry-fitted' into the body. I've added the second sets of kerfed linings and also cut the slot for the neck. I plan to glue the belly on with Titebond Original (my favourite glue) with the sides still in the mould to keep everything square. I have left plenty of material on the braces and I may try to tap-tune the belly by thinning these once the belly and neck are on.
 |
| The sides (viewed from the top) |

 |
| End joint inlay |
 So, I used my new DIY dremel jig and it all went very smoothly. I took a couple of passes with a 1mm spiral upcut bit and then widened the channel by adjusting the jig. I glued in the rosette with zap-a-gap super glue and scraped it flat. I have found that sandpaper can drive dust (in this case walnut and dyed maple) into the pale belly wood and make it look a bit messy.

I have a little Dremel jig I bought from Stewmac ages ago and its great for routing the cavities for inlays. I decided to use it for the rosette inlay and needed an adaptor for cutting circles. The commercial product was a bit too expensive for my tastes, so I made one out of some bits of aluminium I had 'lying around'.

Not as neat, but hopefully it will work the same...
All it took was to draw a circle of the correct size in Inkscape, generate the g-code in ESTLcam and press 'print' in Repetier. I was very happy with the outcome, and I think I will try and do the neck and fretboard shaping this way (a bit more of a challenge than just a circle in a piece of oak!).
It took about 40 minutes to change the blade on the bandsaw, most of it setting up the tension and alignment. Still, I think it was time well spent as I was able to re-saw a nice piece of walnut which will make the back and sides on the 'pineapple'.


I'll thickness these next.
My toolchain is to start with a drawing in Inkscape and export as a .svg file. This is imported into ESTLCAM to work out the toolpath (Gcode), and then Repetier Host is used to control the MPCNC on a RAMPs board.
I hope to use this setup to prepare moulds and templates, and maybe to try and carve backs and fronts.
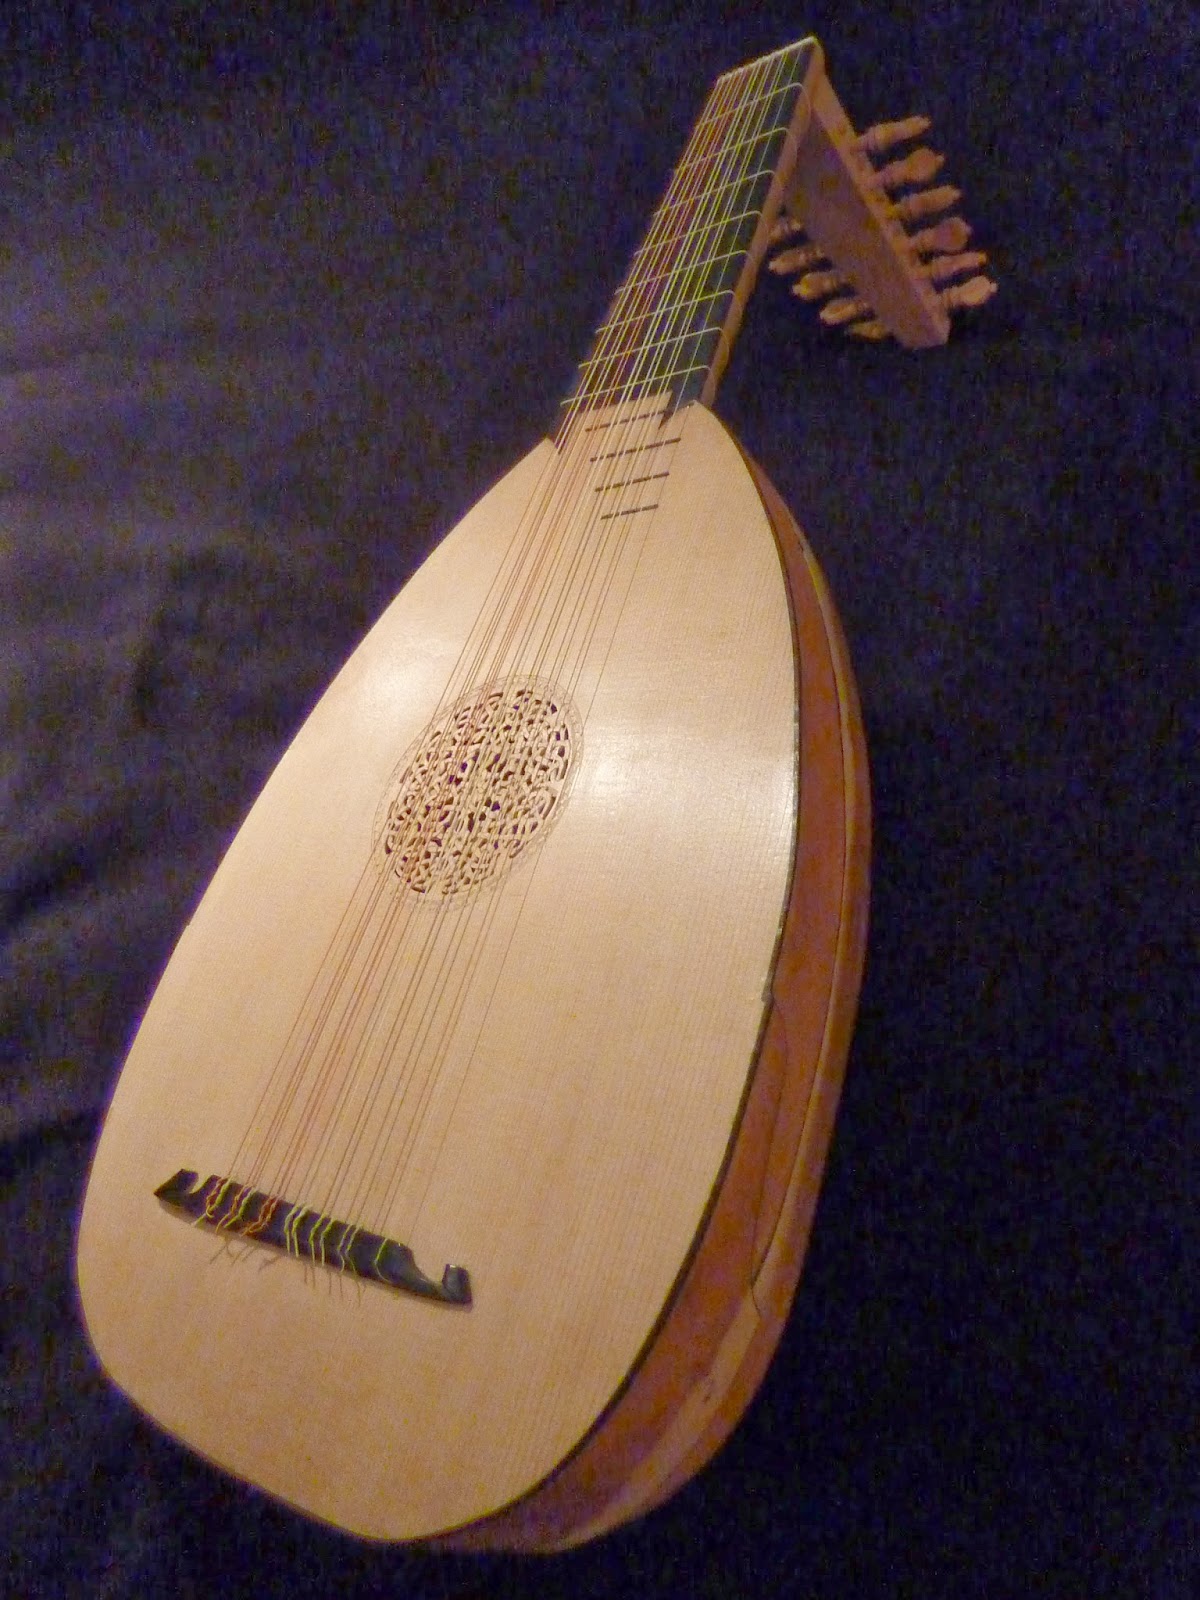 I finally finished off the lute today. I decided that the previous bridge issues were down to a bad glue joint, so I took extra care this time!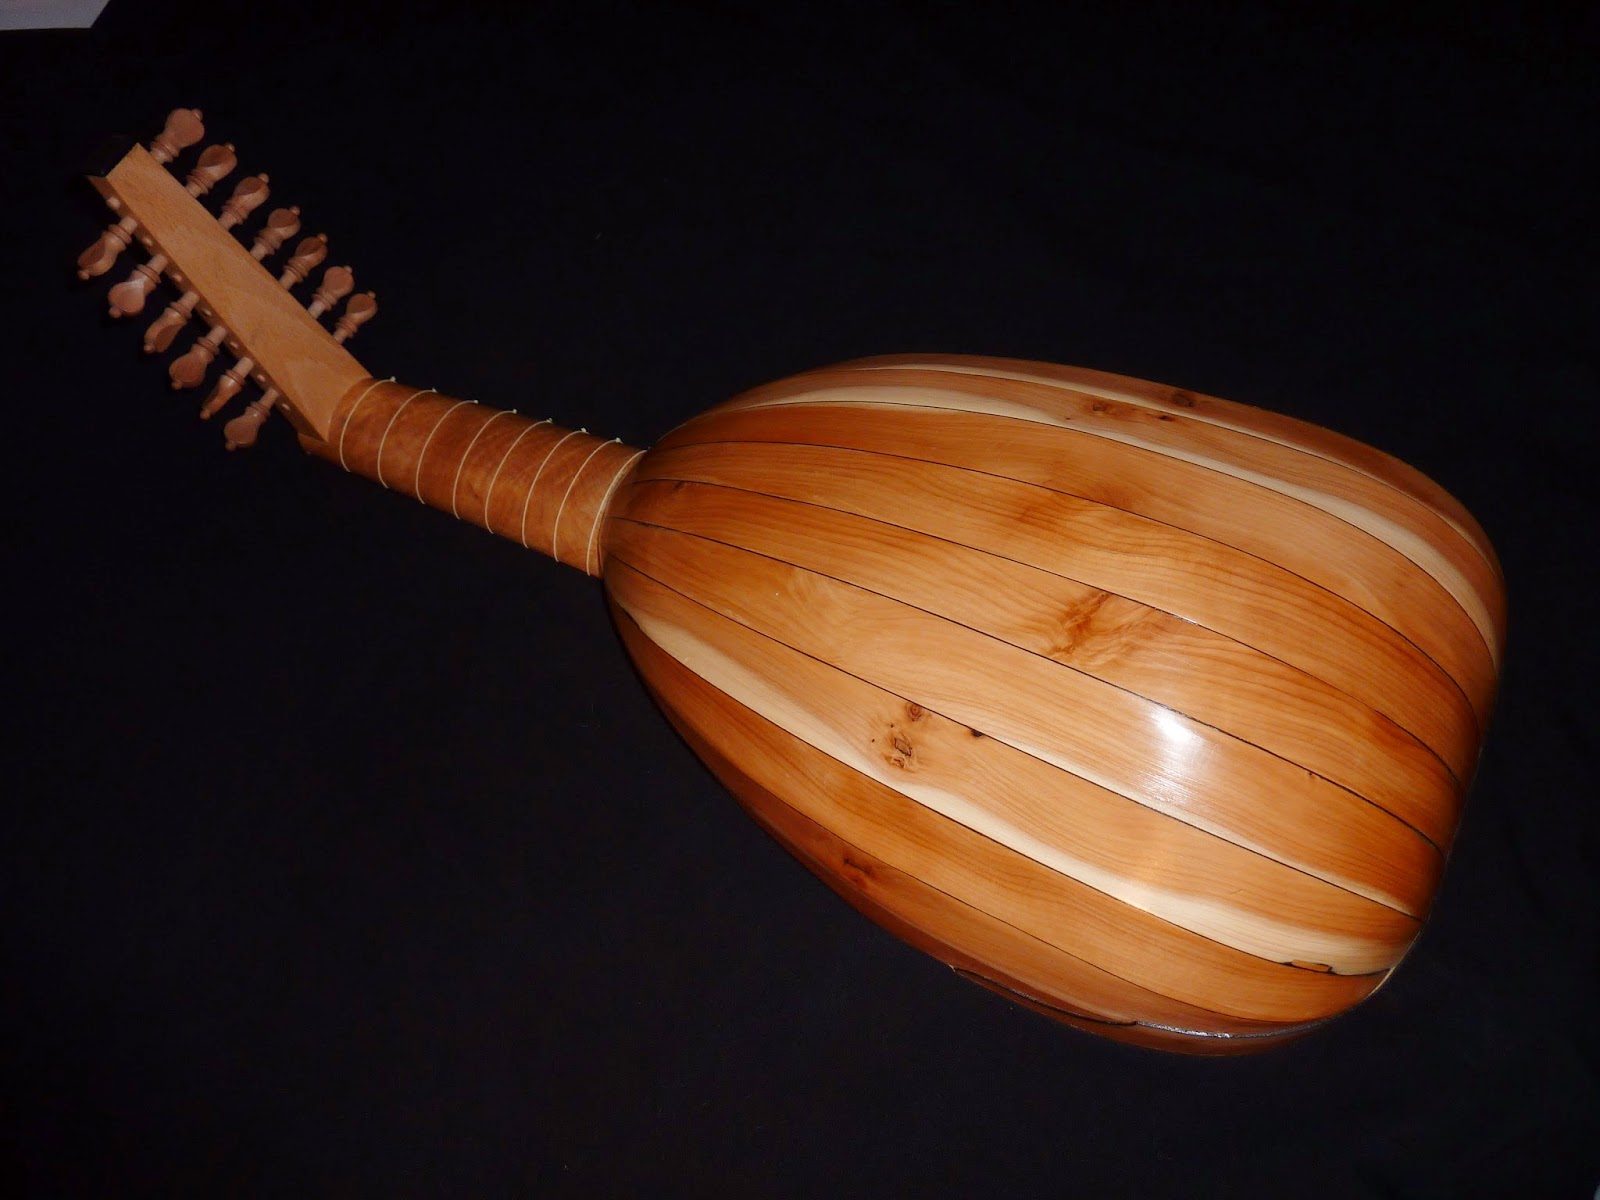


|
1
|
g'
|
0.42 Nylgut
|
|
|
2
|
d'
|
0.54 Nylgut
|
|
|
2
|
d'
|
0.54 Nylgut
|
|
|
3
|
a
|
0.68 Nylgut
|
|
|
3
|
a
|
0.68 Nylgut
|
|
|
4
|
f
|
0.85 Nylgut
|
|
|
4
|
f
|
0.85 Nylgut
|
|
|
5
|
c
|
1.12D Nylgut wound with copper wire
|
|
|
5
|
c
|
1.12D Nylgut wound with copper wire
|
|
|
6
|
g
|
0.73 Nylgut
|
|
|
6
|
G
|
1.45D Nylgut wound with copper wire
|
|
|
7
|
d
|
0.85 Nylgut
|
|
|
7
|
D
|
1.65D Nylgut wound with copper wire
|
|
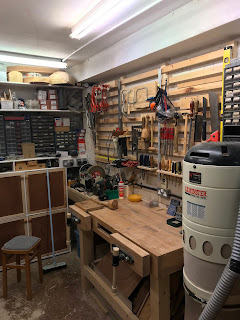
 It's been a few months since I last posted anything. I've been busy with other things, and the instrument making has taken a back seat. I had a minor 'incident' with the lute - my workshop (garage) had become so untidy that I knocked the lute off its hanging hook and it fell onto the concrete floor. The neck joint and one of the ribs needed repairing, but I'm glad it wasn't worse - my resolution this year is to get a bit more order into the workshop.
 Posts
All Comments
Posts
All Comments