Search This Blog

Wednesday, April 27, 2022

Dots


I was thinking about how a make some walnut dots for the fretboard. My first attempt on my lathe was not good enough, so I tried out using a leather punch in my drill press. This worked really well. I punched through almost all the thickness of the walnut and then sanded the back off on my belt sander, ending up with a little pile of dots. The test fitting in a piece of scrap wood looked fine, so these are good to go for the fretboard.


Sunday, April 24, 2022

Fretboard


I had originally decided to use a piece of macassar ebony for the fretboard (second from the left), but I didn't like the colour against all the walnut. Likewise, I rejected the ebony (left) and cocobolo (third from the left). In the end, I am going for a simple piece of sycamore (right), I hope to jazz it up a bit with some dot markers to be made on the lathe from the same piece of walnut used for the peghead veneer (and planned for the bridge). 


Neck


The neck was made from a sandwich of walnut, dyed constructional veneer and a sycamore core. The idea was to generate some stiffness as walnut alone may have been a bit too flexible. Someday I will try out a carbon fibre reinforcing rod instead... For a peghead veneer, I have made a little bookmatched piece from some interesting walnut, thicknessed down to about 3mm.


Thursday, April 21, 2022

Ready to glue on the belly


Here is the belly 'dry-fitted' into the body. I've added the second sets of kerfed linings and also cut the slot for the neck. I plan to glue the belly on with Titebond Original (my favourite glue) with the sides still in the mould to keep everything square. I have left plenty of material on the braces and I may try to tap-tune the belly by thinning these once the belly and neck are on.

Saturday, April 16, 2022

A body


The sides (viewed from the top)
I have been making steady progress with the uke. I bent the sides - it's been a few years since I last did this and the cracking noise from the figured walnut was not encouraging. Too aggressive! Still, I pressed on and fixed the crack with some Araldite. This will need some more attention later on. I added an inlay where the sides join at the end, which will match the bindings. I'm reasonably happy with this. Finally, I made and fitted some kerfed linings (from some white pine).  Next up will be fitting the belly to the body.

An ugly crack

End joint inlay


Thursday, March 31, 2022

Belly


So, I used my new DIY dremel jig and it all went very smoothly. I took a couple of passes with a 1mm spiral upcut bit and then widened the channel by adjusting the jig. I glued in the rosette with zap-a-gap super glue and scraped it flat. I have found that sandpaper can drive dust (in this case walnut and dyed maple) into the pale belly wood and make it look a bit messy.
Finally, I used the jig again to cut out the soundhole. Next for the belly will be fitting some braces - I am winging it on the placement for these, so we will have to see how it goes...


Sunday, March 27, 2022

Saving eighty seven quid

 I have a little Dremel jig I bought from Stewmac ages ago and its great for routing the cavities for inlays. I decided to use it for the rosette inlay and needed an adaptor for cutting circles. The commercial product was a bit too expensive for my tastes, so I made one out of some bits of aluminium I had 'lying around'. 


Not as neat, but hopefully it will work the same...

Thursday, March 17, 2022

Making a template for the rosette


 I was thinking about the binding and the rosette that will go around the sound hole, and I decided to use walnut with an extra black stripe. I needed to make a circular channel in some scrap wood to allow the bent rosette wood to 'set', and I wondered about making a router jig (base turning about a fixed point). Then  I remember I had made a CNC router specifically for this sort of thing (doh).

All it took was to draw a circle of the correct size in Inkscape, generate the g-code in ESTLcam and press 'print' in Repetier. I was very happy with the outcome, and I think I will try and do the neck and fretboard shaping this way (a bit more of a challenge than just a circle in a piece of oak!). 

Sunday, March 13, 2022

Re-sawing

 It took about 40 minutes to change the blade on the bandsaw, most of it setting up the tension and alignment. Still, I think it was time well spent as I was able to re-saw a nice piece of walnut which will make the back and sides on the 'pineapple'.


I'll thickness these next.

Thursday, January 06, 2022

Using my new CNC router on the uke mould.


Last year I made myself a MPCNC router, and it has sat idle ever since. I have now used it 'in anger' for the first time to surface the back of the uke mould. It was a bit terrifying, but it worked as expected and didn't crash! 

My toolchain is to start with a drawing in Inkscape and export as a .svg file. This is imported into ESTLCAM to work out the toolpath (Gcode), and then Repetier Host is used to control the MPCNC on a RAMPs board. 

I hope to use this setup to prepare moulds and templates, and maybe to try and carve backs and fronts.

Friday, December 10, 2021

Back in the workshop.


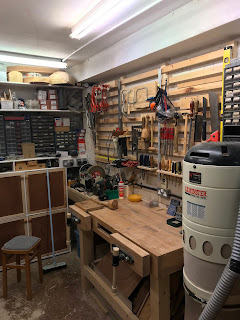
 So, after a long absence, I finally have some time to get back to some luthiery. I have tidied up the garage a bit (and made myself a new workbench) and uploaded a more honest profile photo so there should no excuses. The next instrument on the list is a baritone ukulele (in the pineapple style).

Sunday, March 16, 2014

Finally

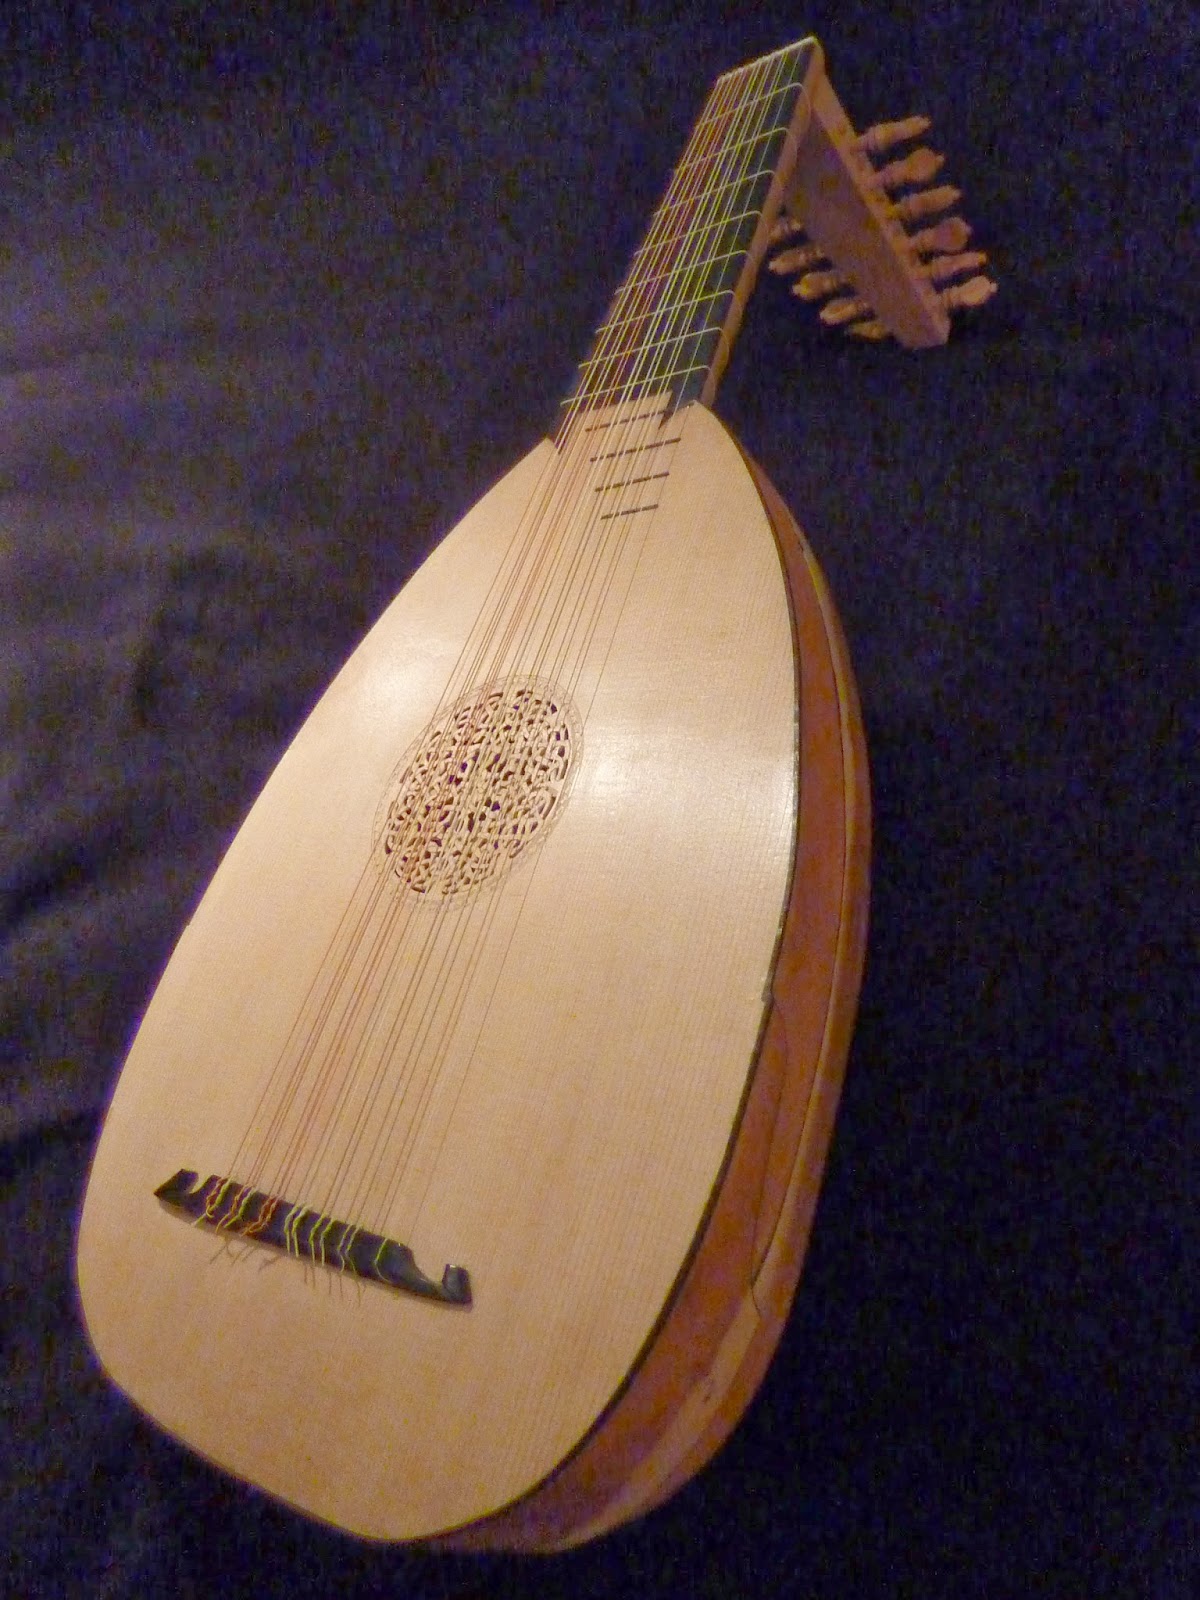
 I finally finished off the lute today. I decided that the previous bridge issues were down to a bad glue joint, so I took extra care this time!

The sound is nice at the proper pitch but the strings are still stretching so it won't stay in tune for long at the moment. I'll wait a bit before making a soundfile.

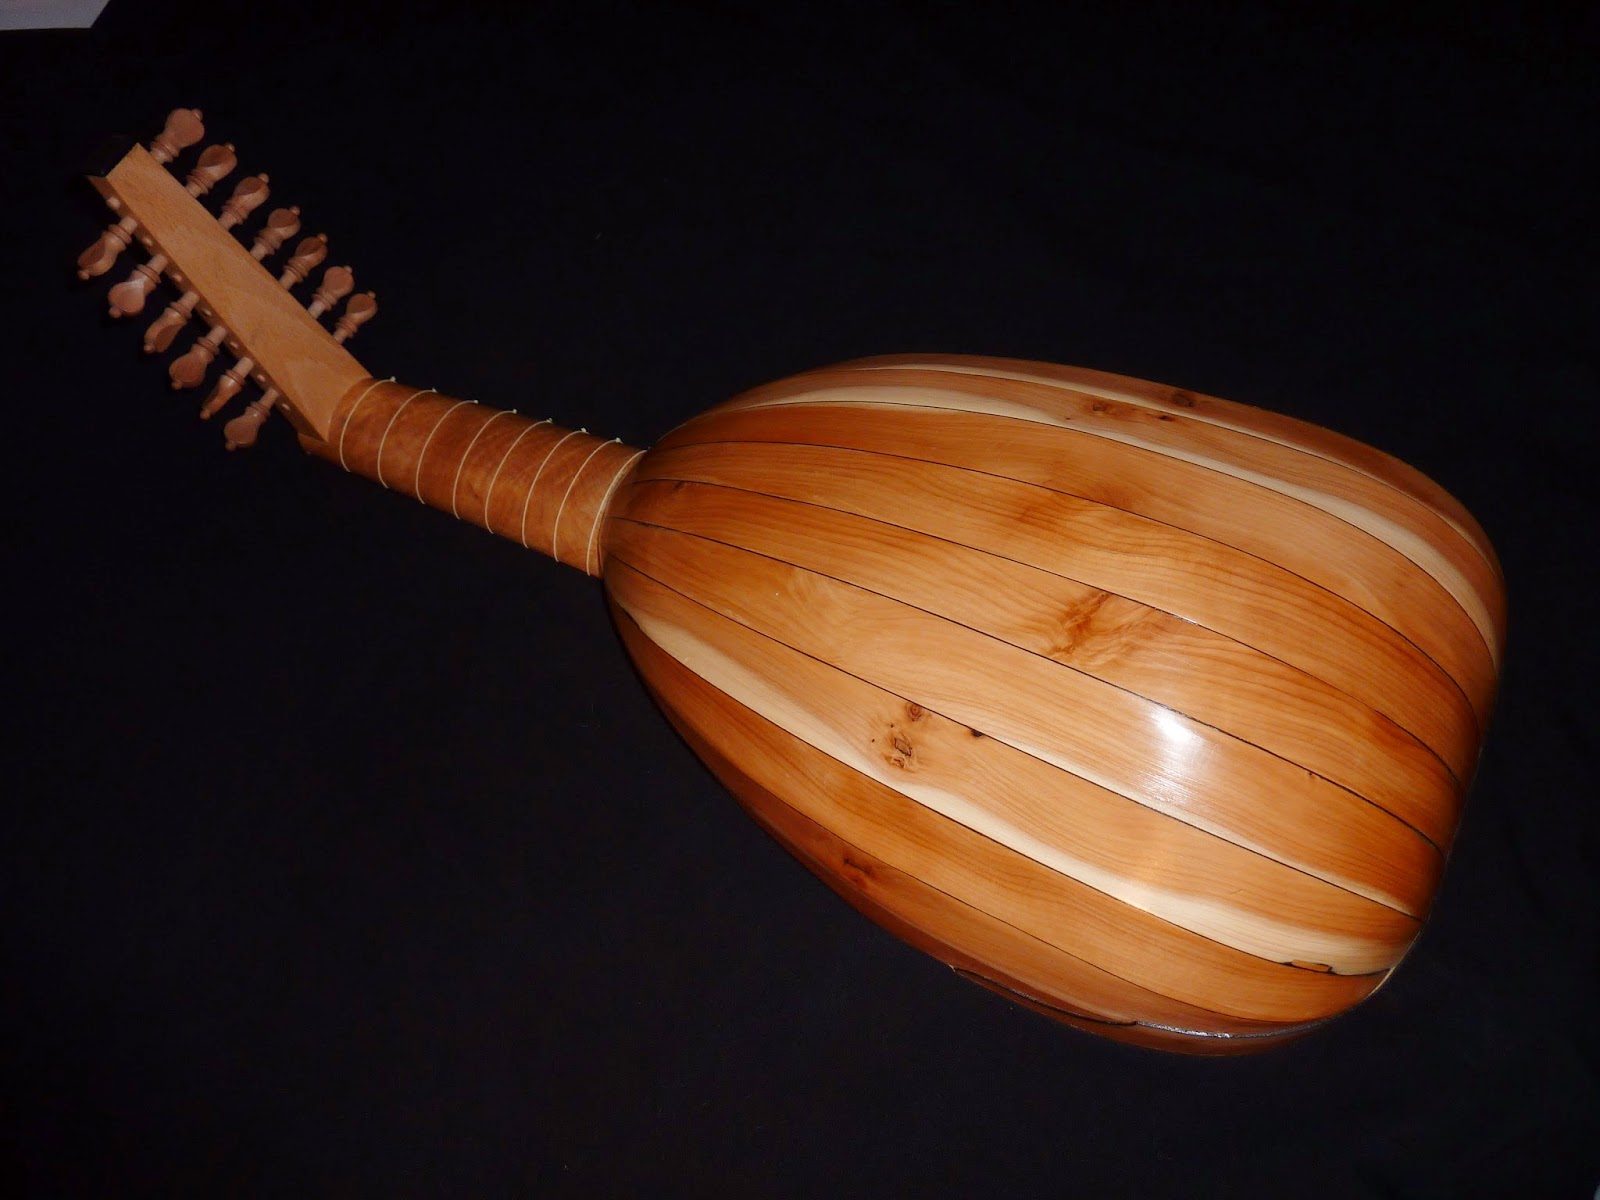
I have learnt a few things with this project. It has been a bit of a battle with this instrument, especially with the tricky yew wood ribs and the troublesome bridge, and I don't think I'll be making any more lutes.  However, I really like the style of the peg box, and making my own pegs, and also working with such a light instrument, so I may have a go at a renaissance guitar sometime.

Saturday, March 08, 2014

Bang again!

The bridge has parted company from the belly again!

I had re-glued it with Araldite, and I thought this would be sufficient. Everything else is finished on the lute (frets all done, including the ebony ones of the body), so I strung it up again and tuned it to pitch. It was OK for a few minutes and then there was an ominous creaking followed by the familiar 'bang'. This time part of the bridge (the scroll at the end) did break, but this is a simple fix.

Maybe my glue joint wasn't good enough, or maybe the tension (i.e. my choice of strings) is too great. I am going with the first option, and so I will try again with Araldite - unless anyone out there has any better suggestions! .

Sunday, February 09, 2014

Bang!

I finished the nut,  polished up the pegs with wax and fitted the tied frets. I then tied on the strings and started to tension them. All was well for a while (most of the strings a tone or so below their final pitch), and the tone sounded quite nice. Then there was a creaking sound, followed by a 'bang', and off came the bridge - the hide glue joint had failed!

There is no damage to the belly, so it should be a straightforward job to clean up and glue it back on, but I think I and going to go with a more forgiving adhesive. Probably Araldite (but don't tell anyone!).

Sunday, February 02, 2014

Wax on, Wax off

The finish is now , ...er, finished! The belly got three coats of my home made wax, and then I finished the whole instrument with Renaissance Micro Crystalline Wax. This leaves a very nice silky finish, and it is claimed to provide excellent protection from fingerprints etc.

I am going to use Aquila nylgut strings for all the seven courses, as shown below. There seems to be a million different ways to string up a lute, so this is just a guess as to what might work.


1
g'
0.42 Nylgut

2
d'
0.54 Nylgut

2
d'
0.54 Nylgut

3
a
0.68 Nylgut

3
a
0.68 Nylgut

4
f
0.85 Nylgut

4
f
0.85 Nylgut

5
c
1.12D Nylgut wound with copper wire 

5
c
1.12D Nylgut wound with copper wire

6
g
0.73 Nylgut

6
G
1.45D Nylgut wound with copper wire 

7
d
0.85 Nylgut

7
D
1.65D Nylgut wound with copper wire


The rest of the work will be 'setting up' the strings, nut and gut frets.

Saturday, January 11, 2014

Still at it

It's been a few months since I last posted anything. I've been busy with other things, and the instrument making has taken a back seat. I had a minor 'incident' with the lute - my workshop (garage) had become so untidy that I knocked the lute off its hanging hook and it fell onto the concrete floor. The neck joint and one of the ribs needed repairing, but I'm glad it wasn't worse - my resolution this year is to get a bit more order into the workshop.

Anyway, I have been making slow but steady progress since then. I finished making the pegs, and I have fitted the pegbox. I have also completed the 'half-binding'. This is a little different to guitar bindings as is doesn't go all the way through the thickness of the belly. This allows the belly to be removed by some future lute repair man without making too much of a mess! My binding material was narrow strips of ebony, and it looks quite neat (but more like 7/8 of the belly thickness). It's all been done with hide glue which I am getting to enjoy using - having an old iron on hand (on a cool setting) helps to make a neat joint.

With the woodwork now completed, I am starting the finishing process. The bowl will be French polished, and the neck and pegbox will be finished with walnut oil (I've bought a finish made for gun stocks). The belly will be waxed, and this evening I prepared the wax - a mixture of beeswax, carnauba wax and turpentine, which was fun to make. The whole thing will be given a protective wax coat to finish it off. I think that this sounds like a lot of different finishes, but it is what Robert Lundberg suggests in his book, and he should know!

Sunday, October 06, 2013

Back to work

It's been ages since I had any time for instrument making. I've started a new job, been refurbishing a flat, we've got a new puppy and I've been trying to fix the leak in the d**ned shower. But finally, I've got started on the pegs: The third one from the left has been finished off and I'm using it as my template - the rest are fresh off the lathe. I need thirteen, so I will make about twenty and choose the better ones.

Friday, June 14, 2013

Pushing on with lute

I'm still making slow, but steady progress with the lute. Here is the peghead, made from beech wood, together with my first practice peg. This one was made from cherry, but the real ones will be turned from pear wood. I think I will make the collar on the peg a bit simpler, and make the 'pip' (the tiny button on the end of the peg) a bit rounder.

Tuesday, May 21, 2013

Back to the lute

I'm back to working on the lute now. I have fitted the counter-cap to the inside of the bowl (it has a much better shape now), and I've glued on the bridge (with hide glue, of course). I now have to do a bit of tap tuning by shaving away some of the braces on the underside of the belly (although this will, as usual be more luck than judgement!).

I also have to glue some paper reinforcing strips along the rib seams on the inside of the bowl.

Sunday, May 19, 2013

Arching (part two)

Starting...
 Here are the results from my first practice run with the overhead pin router. I started with a piece of walnut, fixed with double-sided tape to the holding table. I started the routing with the uppermost contour and proceeded to go deeper each round.

It was pretty straightforward, and reasonably quick. There were a couple of issues to fix, though. First, I need to find a better way to remove the chippings as they tended to find their way under the holding board, giving its movement a 'gritty' feel. Perhaps the answer will be to cut some slots in the table itself and figure out a way of connecting these to my dust extractor.

The second issue was setting the depth of the router cutter, which was a bit fiddly. I think that a threaded rod fitted to the router (one turn per mm) might work, or if I'm feeling extravagant, a digital depth gauge.

...part way through...
I will finish off the back sometime soon and who knows, perhaps a walnut F5 mandolin will form around it!

...all the contours cut