I am finding the lute really frustrating - hats off to all the luthiers out there!! Working with the very thin yew wood is a pain and there seems to be no room for any inaccuracies. Unlike the bowlback mandolin, there is no tail block - instead the 'end cap' is added to the outside and a 'countercap' is put on the inside after the lute body is removed from the mould. This means that if there are any stresses, a rib at the tail end will tend to 'peel away' from its next door neighbour.
This happened a lot!
I had fixed the middle rib to the mould with a tiny screw, but I should probably have done this for the rest of them too.
Anyway, the photos show the making of the end cap, with its black veneer binding. After cleaning it up with a cabinet scraper I bent it into shape on the iron and glued it into place with Titebond.
This has strengthened the tail end considerably, but I have plenty of cracks, holes and tiny knot holes to fix. I am going to work through these with Araldite epoxy glue mixed with ebony dust.
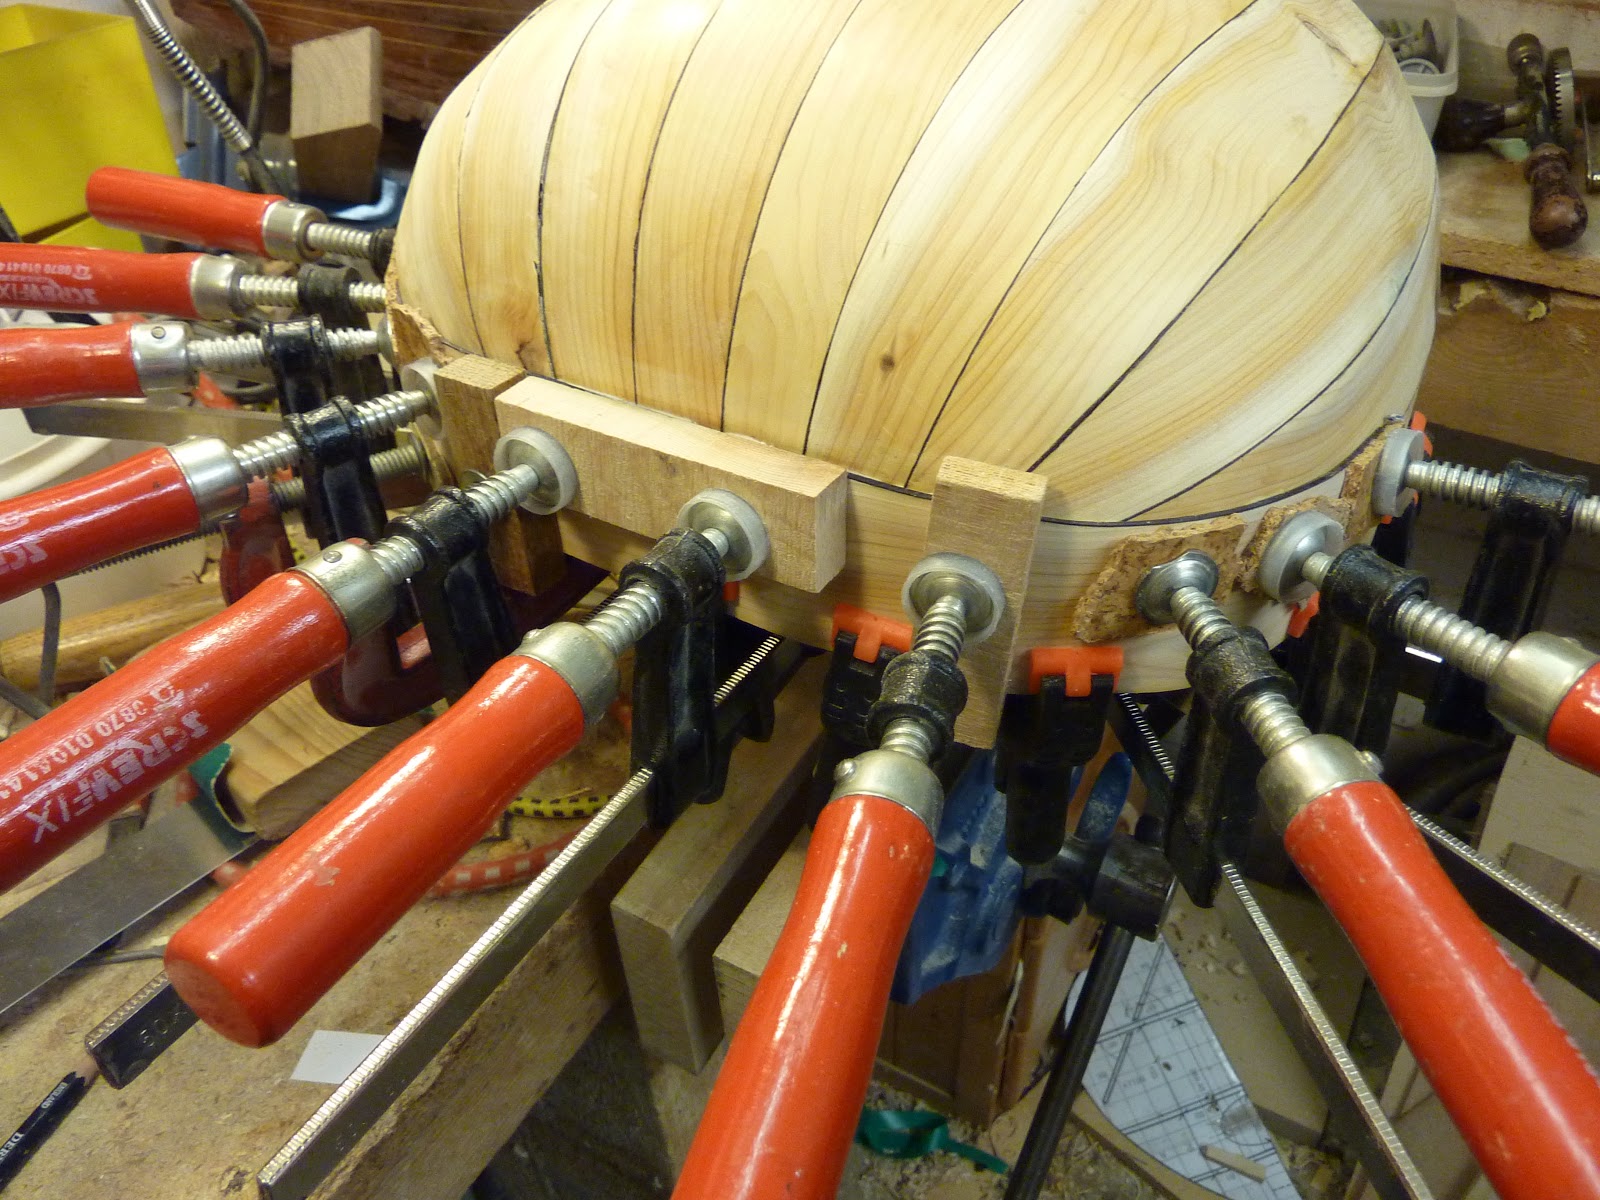
Meanwhile the mandocello bowl now has four ribs. I am finding these much easier to fit accurately - the walnut is a bit thicker, it has a very straight grain and the tailblock keep the ribs from peeling apart.
I much prefer the mandolin mould design, but the lesson from both instruments is that the mould should be as close to perfect as possible!

 I was going to crack on with this immediately, but I learnt from my lute book that shape of the belly has to be taken while the body is still in the mould. Once it's out of the mould, the body 'relaxes' and ends up longer and thinner!