Search This Blog

Sunday, March 16, 2014

Finally

 I finally finished off the lute today. I decided that the previous bridge issues were down to a bad glue joint, so I took extra care this time!

The sound is nice at the proper pitch but the strings are still stretching so it won't stay in tune for long at the moment. I'll wait a bit before making a soundfile.

I have learnt a few things with this project. It has been a bit of a battle with this instrument, especially with the tricky yew wood ribs and the troublesome bridge, and I don't think I'll be making any more lutes.  However, I really like the style of the peg box, and making my own pegs, and also working with such a light instrument, so I may have a go at a renaissance guitar sometime.

Saturday, March 08, 2014

Bang again!

The bridge has parted company from the belly again!

I had re-glued it with Araldite, and I thought this would be sufficient. Everything else is finished on the lute (frets all done, including the ebony ones of the body), so I strung it up again and tuned it to pitch. It was OK for a few minutes and then there was an ominous creaking followed by the familiar 'bang'. This time part of the bridge (the scroll at the end) did break, but this is a simple fix.

Maybe my glue joint wasn't good enough, or maybe the tension (i.e. my choice of strings) is too great. I am going with the first option, and so I will try again with Araldite - unless anyone out there has any better suggestions! .

Sunday, February 09, 2014

Bang!

I finished the nut,  polished up the pegs with wax and fitted the tied frets. I then tied on the strings and started to tension them. All was well for a while (most of the strings a tone or so below their final pitch), and the tone sounded quite nice. Then there was a creaking sound, followed by a 'bang', and off came the bridge - the hide glue joint had failed!

There is no damage to the belly, so it should be a straightforward job to clean up and glue it back on, but I think I and going to go with a more forgiving adhesive. Probably Araldite (but don't tell anyone!).

Sunday, February 02, 2014

Wax on, Wax off

The finish is now , ...er, finished! The belly got three coats of my home made wax, and then I finished the whole instrument with Renaissance Micro Crystalline Wax. This leaves a very nice silky finish, and it is claimed to provide excellent protection from fingerprints etc.

I am going to use Aquila nylgut strings for all the seven courses, as shown below. There seems to be a million different ways to string up a lute, so this is just a guess as to what might work.


1
g'
0.42 Nylgut

2
d'
0.54 Nylgut

2
d'
0.54 Nylgut

3
a
0.68 Nylgut

3
a
0.68 Nylgut

4
f
0.85 Nylgut

4
f
0.85 Nylgut

5
c
1.12D Nylgut wound with copper wire 

5
c
1.12D Nylgut wound with copper wire

6
g
0.73 Nylgut

6
G
1.45D Nylgut wound with copper wire 

7
d
0.85 Nylgut

7
D
1.65D Nylgut wound with copper wire


The rest of the work will be 'setting up' the strings, nut and gut frets.

Saturday, January 11, 2014

Still at it

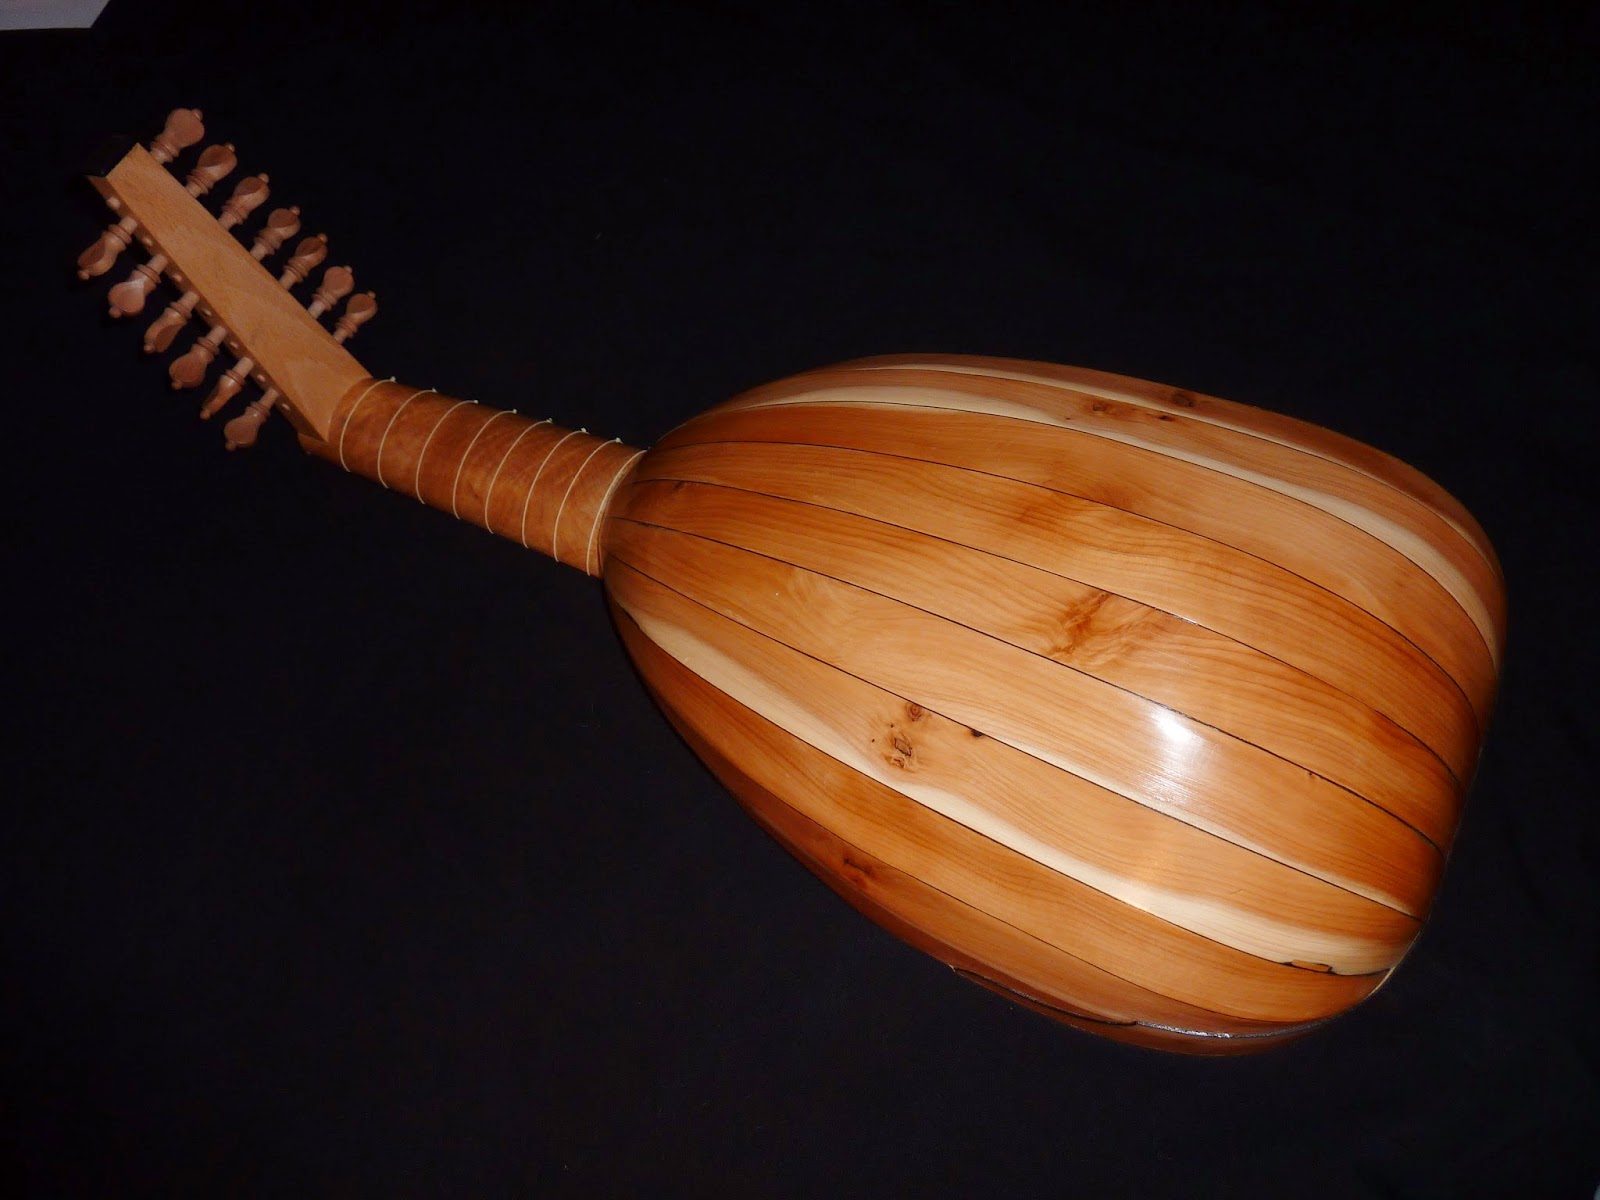
It's been a few months since I last posted anything. I've been busy with other things, and the instrument making has taken a back seat. I had a minor 'incident' with the lute - my workshop (garage) had become so untidy that I knocked the lute off its hanging hook and it fell onto the concrete floor. The neck joint and one of the ribs needed repairing, but I'm glad it wasn't worse - my resolution this year is to get a bit more order into the workshop.

Anyway, I have been making slow but steady progress since then. I finished making the pegs, and I have fitted the pegbox. I have also completed the 'half-binding'. This is a little different to guitar bindings as is doesn't go all the way through the thickness of the belly. This allows the belly to be removed by some future lute repair man without making too much of a mess! My binding material was narrow strips of ebony, and it looks quite neat (but more like 7/8 of the belly thickness). It's all been done with hide glue which I am getting to enjoy using - having an old iron on hand (on a cool setting) helps to make a neat joint.

With the woodwork now completed, I am starting the finishing process. The bowl will be French polished, and the neck and pegbox will be finished with walnut oil (I've bought a finish made for gun stocks). The belly will be waxed, and this evening I prepared the wax - a mixture of beeswax, carnauba wax and turpentine, which was fun to make. The whole thing will be given a protective wax coat to finish it off. I think that this sounds like a lot of different finishes, but it is what Robert Lundberg suggests in his book, and he should know!
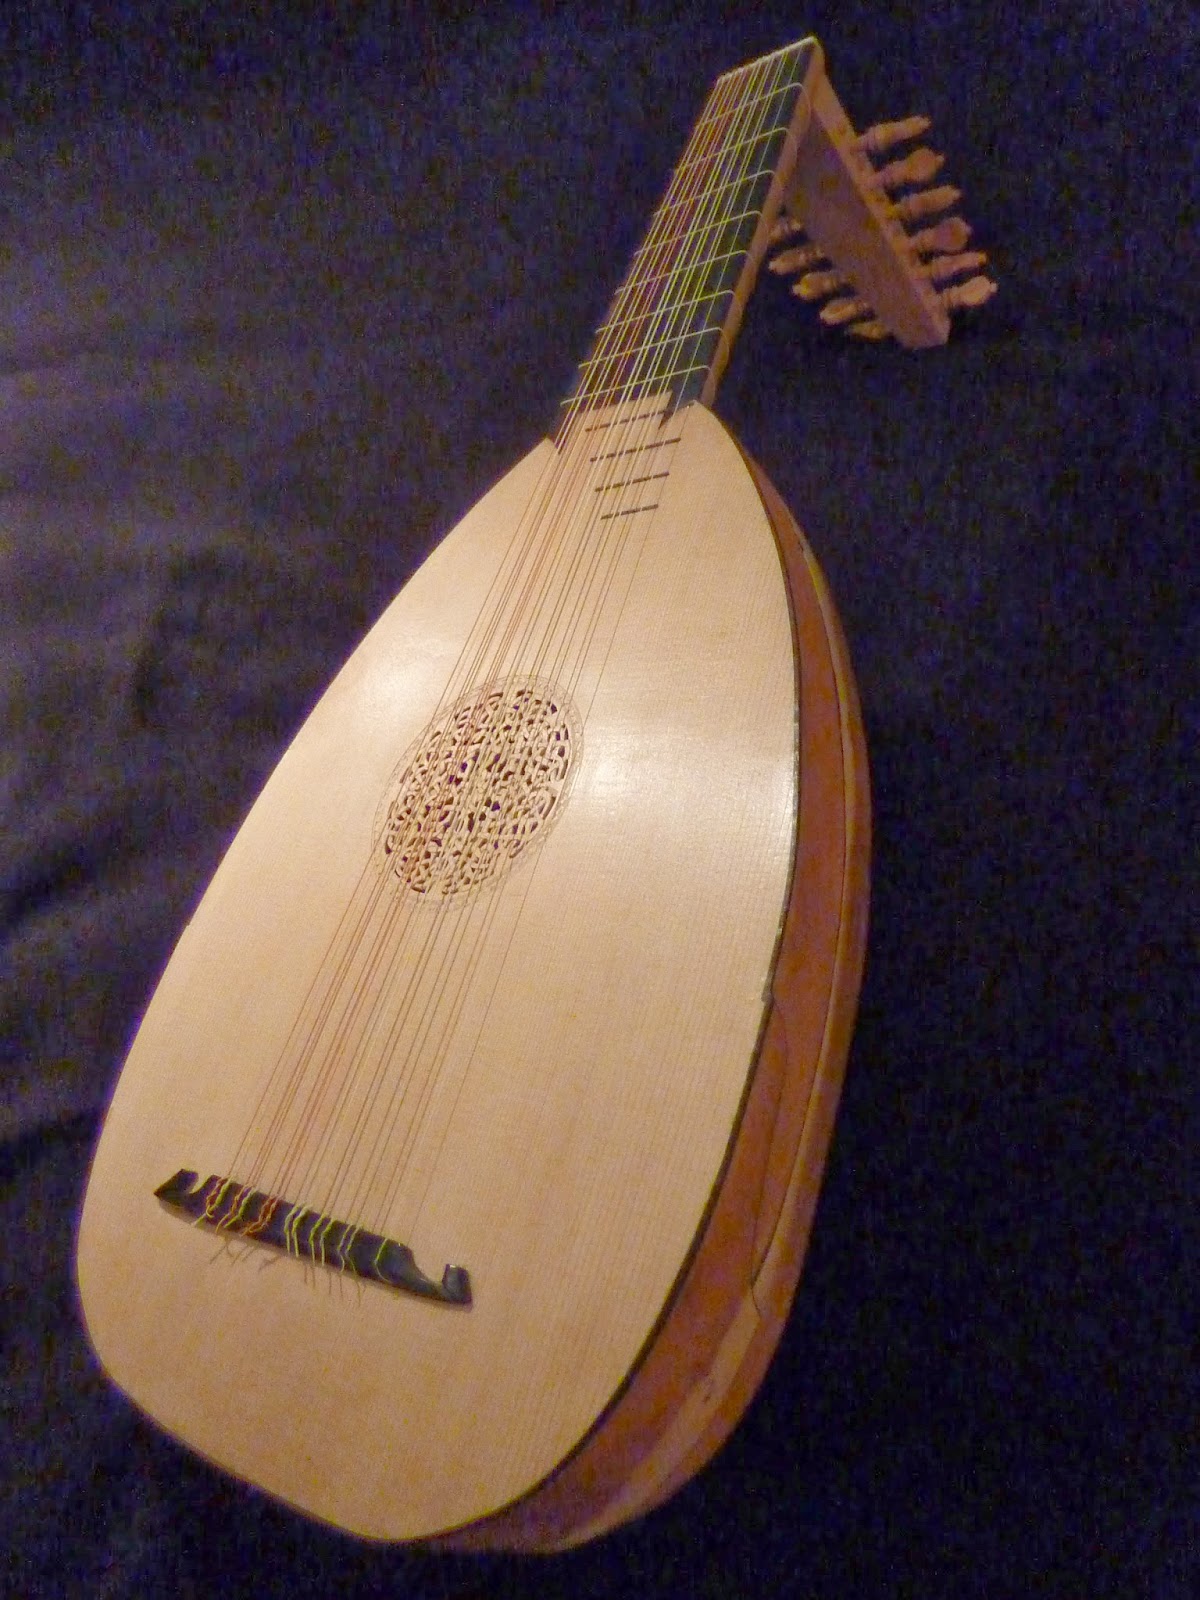